Photo by Jason Leung
You’ve spent hours on a beautiful design. The colours pop, the fonts sing, and the layout is flawless on screen. Then the prints arrive—and something’s off. Maybe the logo is blurry, the colours are muted, or the text got clipped. That’s where print proofs come in. At Kawaii Labs Corporate, we’ve seen firsthand how proofs can be the make-or-break step in any successful print project.
What Is a Print Proof?
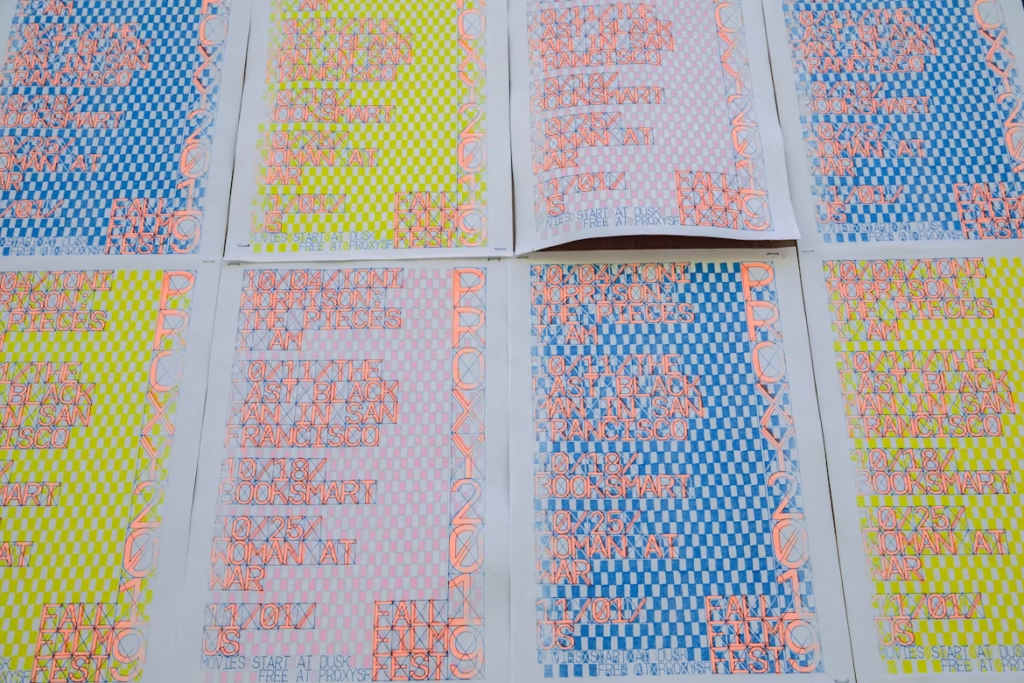
A print proof is a sample of your design printed before the full production run begins. It’s your final opportunity to review exactly how your materials will look when printed—colours, layout, resolution, trim lines, and more.
There are several types of print proofs:
- Digital proofs: PDFs sent via email for on-screen review.
- Hard copy proofs: Physically printed samples sent to you before full production.
- Contract proofs: Colour-accurate hard copies that simulate final output exactly, often used for high-end jobs.
Each type serves different needs depending on the project scope, budget, and timeline.
Why Proofing Is Critical
1. Catch Design Errors
On-screen previews can hide mistakes. A print proof lets you see misaligned elements, missing bleed, pixelation, typos, or layout issues you might miss in a digital mock-up.
For example, white text on a yellow background might look fine on your monitor but appear unreadable in print. A proof shows you that before 5,000 flyers go out with illegible text.
2. Ensure Colour Accuracy
What you see on your screen is RGB, but printers use CMYK. That bright turquoise? It might print dull and greenish. With a colour print proof, you can spot those discrepancies and adjust them before it’s too late.
Pantone colours also need to be checked—especially if brand colours are crucial. A contract proof lets you see whether your red is really your red.
3. Verify Layout and Bleed
Proofs confirm if artwork is set up correctly with proper bleed, trim, and safe zones. You’ll see if any text is too close to the edge or if important elements risk being cut off.
For die-cut or folded items like boxes, brochures, or folders, this is especially important. A 2D layout may not show how panels line up after assembly.
4. Confirm Materials and Finish
In physical proofs, you’ll also feel the paper, inspect finishes, and check print effects like Spot UV, foiling, or embossing. You can see how a glossy coating reacts with your design or how matte paper affects readability.
This is your only chance to see how the tactile experience supports your brand.
5. Avoid Expensive Reprints
Once a job is approved for full print, mistakes can be costly—both in budget and reputation. A single proofing step can save thousands in reprints, delays, and disappointed clients.
It’s always cheaper to fix a problem before 1,000 copies roll off the press.
When Should You Request a Proof?
- If you’re printing a large quantity
- If your project involves brand colours or intricate layouts
- If you’re using special print finishes (like Spot UV or foils)
- If it’s your first time working with a printer
- If your job is colour-sensitive (like product packaging or corporate reports)
In short: when quality matters, always request a proof.
Tips for Reviewing a Proof
- Check spelling, layout, margins, and bleed lines.
- Compare colours to brand standards or Pantone swatches.
- Ensure images are sharp, not pixelated.
- Fold or assemble mockups to simulate final format.
- Show it to a colleague for fresh eyes—you may miss something obvious.
Print proofs are not a luxury—they’re a necessity. They give you confidence that what you approved is what gets printed. At Kawaii Labs Corporate, we include proofing in our process for this very reason: it’s better to spot problems on one sheet than on a full shipment.
If you need help preparing, reviewing, or understanding your proofs, our team is here to guide you through it. Your brand deserves flawless print, and it starts with one smart step: proof first, print second.


